John Rankin @ August 20, 2018
There are Two ways to create your own container.
One way is to use an existing docker container, make your changes to it, and then save it as your new container. The other way is to create one from scratch using a Dockerfile.
For this lesson, we are going to go ahead and start with the first one, by modifying an existing container.
This Tutorial will teach the following:
- How to log into your Running Container via Interactive Shell.
- Install an Application --- (we are installing vim so we can easily edit files)
- Copy files from HOST to Container
- Save, and Tag off your modified container to a repo.
From the "Intro To Docker Post" i've done earlier.. lets re-startup an nginx container and map port 80 to 8080 so I can see stuff :)
docker run -p 8080:80 -d nginx
Once that's started up lets run docker ps and retrieve the "NAMES" item associated with the container. This is the "hostname" of the container that we will be using to be able to log in, or transfer files to the running container. In this case, our hostname for the nginx container will be confident_bardeen ... This hostname will change everytime you start a container.
root@damrkul2:~# docker ps
CONTAINER ID IMAGE COMMAND CREATED STATUS PORTS NAMES
3344f3e0bd26 nginx "nginx -g 'daemon of…" About a minute ago Up About a minute 0.0.0.0:8080->80/tcp confident_bardeen
Log into the container via Interactive Shell
The format for logging in via Interactive Shell will be the following:
- docker exec -it {{CONTAINER_NAME}} /bin/bash"
So lets log into ours
root@damrkul2:~# docker exec -it confident_bardeen /bin/bash
root@3344f3e0bd26:/#
That was easy enough... now it seems alot of containers may not have vim installed. So lets install the vim software so we can look and edit files inside the container.
More and likely you will need to update youre repostory from inside the container... Lets run an apt-get update and install vim .
root@3344f3e0bd26:/# apt-get update;
.......  (removed bunch of lines, but it installed)
Reading package lists... Done

root@3344f3e0bd26:/# apt-get install vim -y
.......  (removed bunch of lines, but it installed)
Setting up vim (2:8.0.0197-4+deb9u1) ...

root@3344f3e0bd26:/# which vim
/usr/bin/vim
Congrats! you've installed your first peice of SW onto a running container... I
Lets now copy a file into the container that can be distributed with our docker image. We will be copying a new index.html to the container.
From our HOST machine lets use the docker cp command.
root@damrkul2:~# docker cp /var/www/dockertest/index.html confident_bardeen:/usr/share/nginx/html
Lets go check to see if the changes happend.
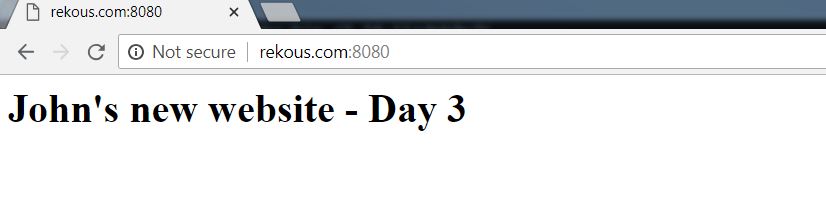
Awesome . We've installed a peice of software, and we have also transferred something to the container. I also wanted to know we can use the same docker cp to send files from the CONTAINER to the HOST, by swapping the arguments.
Alright... so now lets save off this image.
Lets log into DockerHub
root@damrkul2:~# docker login
Login with your Docker ID to push and pull images from Docker Hub. If you don't have a Docker ID, head over to https://hub.docker.com to create one.
Username: rekous
Password:
Login Succeeded
Lets Commit our Image:
root@damrkul2:~# docker commit -m "MyFirst Save" -a "Rekous" confident_bardeen rekous/firstsave:v1
sha256:a886041f4210b450f9f128ba9b12cf7a6ff18e13b08cc1af2c85cad38b4e877f
Lets Push our Image:
root@damrkul2:~# docker push rekous/firstsave:v1
The push refers to repository [docker.io/rekous/firstsave]
73ac60fbddde: Pushed
08d25fa0442e: Mounted from library/nginx
a8c4aeeaa045: Mounted from library/nginx
cdb3f9544e4c: Mounted from library/nginx
v1: digest: sha256:fb1998df3ca47e7c9e4a5b55f3e392291dd8e990ebb3994ea710c01e1ca426fe size: 1160
Lets stop our "confident_bardeen" container... and tryout our new one..
root@damrkul2:~# docker run -p 8080:80 -d rekous/firstsave:v1
And there ya have it!!! I think this is good enough to get me started!